Chevy Tri Five Forum banner

vintage Air Surefit evaporator lines

3.2K views 9 replies 6 participants last post by  55Madman  
#1 · (Edited)
This is my first air install and am putting this in my 56 2-door sedan.
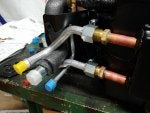
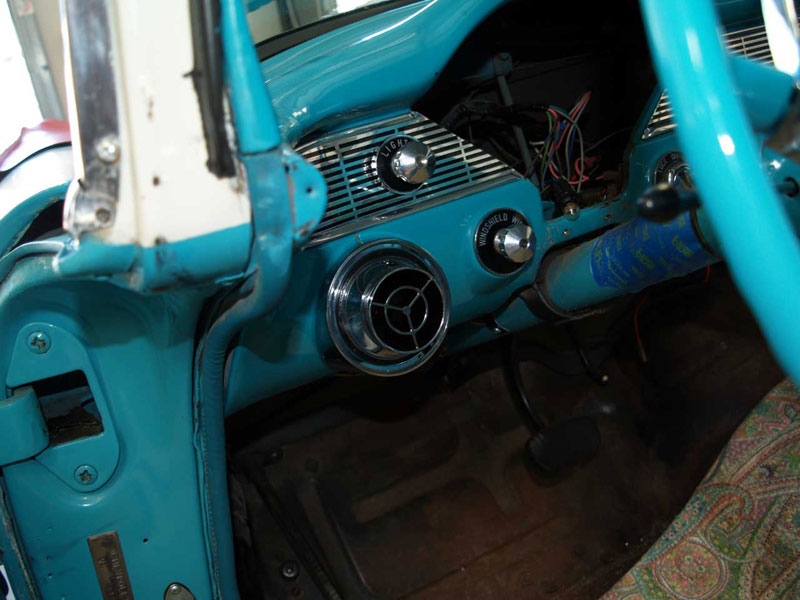
I am just trial fitting the lines to the evaporator and they are really tight together.
The line with the foam wrap seems to be in the way of the heater lines.
I have read on other posts that people may be making lines for this that fit better.
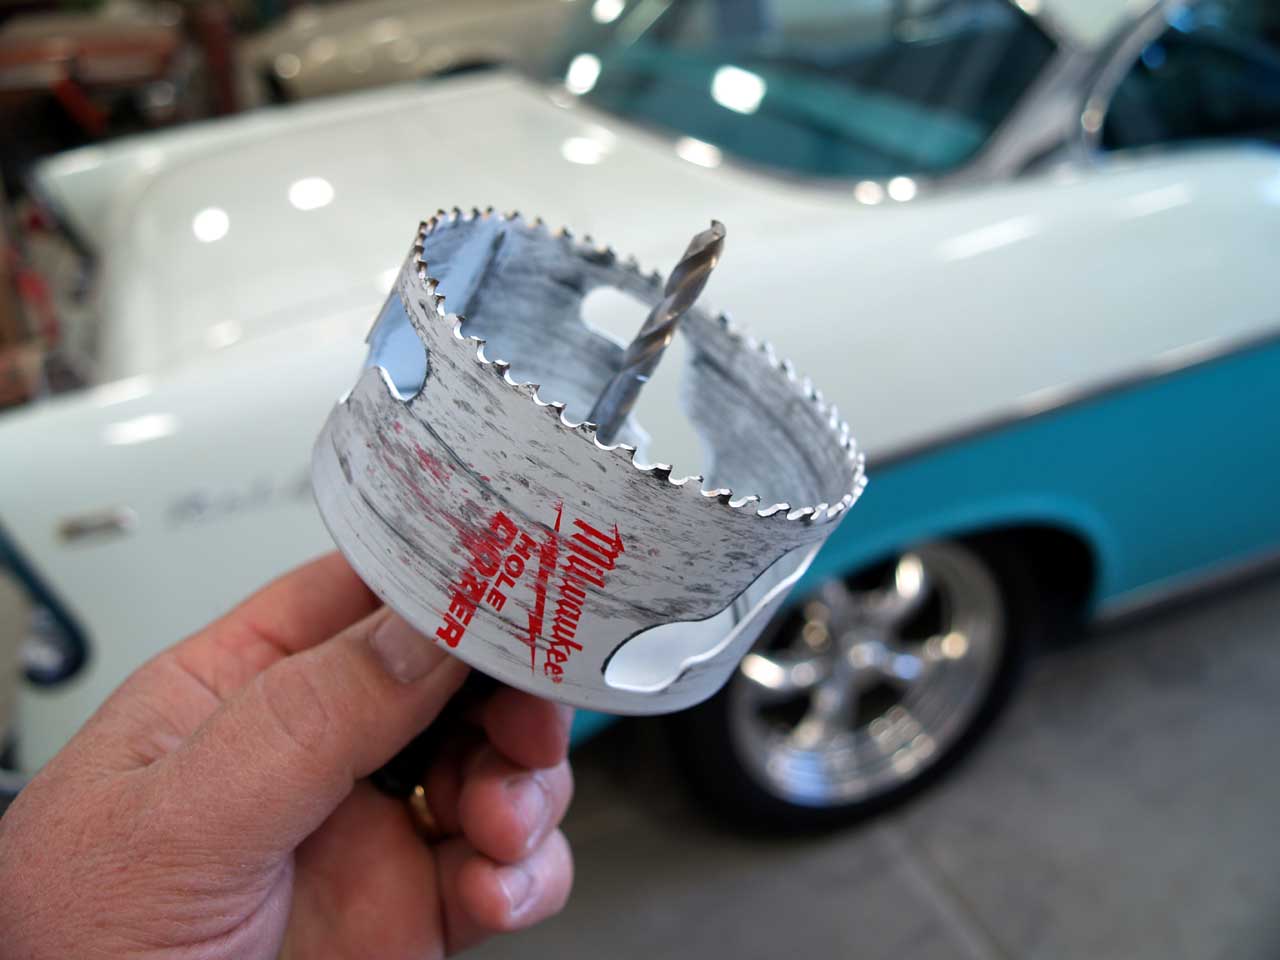
What is the best option for these lines fitting through the firewall?
Thoughts? Ideas?
 

Attachments

#3 ·
I had to bend the lines to make them fit through the small hole in the firewall.

Here are some pictures of the VA instillation I did on a friends '56 a couple of years ago. I used a couple of different hose fittings than the ones that came in the kit that moved the charge ports away from the top of the compressor. I also drilled the dash for the "factory style" chrome outer vents. I really like the look of these vents.


Image


Image


Image


Image


Image


Image


Image


Image


Image


Image
 
#4 ·
Thanks farmboy for the pics. Nice looking 56. I was mounting the condenser yesterday and figured out speedway ordered the 8 cyl hard lines not the 6 cyl lines that i ordered.
So hopefully they can get that fixed with Vintage Air. I am making a new cover out of aluminum instead of using that plastic one. I got the center vent so i didn't have to drill the dash but they do look nice.
Trying to tell which holes the evaporator uses in the firewall pics. That is going to be fun getting that in place.
 
#5 ·
Thanks farmboy for the pics. Nice looking 56. I was mounting the condenser yesterday and figured out speedway ordered the 8 cyl hard lines not the 6 cyl lines that i ordered.
So hopefully they can get that fixed with Vintage Air. I am making a new cover out of aluminum instead of using that plastic one. I got the center vent so i didn't have to drill the dash but they do look nice.
Trying to tell which holes the evaporator uses in the firewall pics. That is going to be fun getting that in place.
The original outside vents required drilling the dash.

The phillips screws in the second picture and on page 15 of the instructions, show the mounting screw locations.
 
#8 · (Edited)
I sure there's more than 2 screws (or studs) to mount the evaporator. For me, I'd want the evaporator on hand before I finalized any firewall welding/cutting.

Trying to remember, my old cable unit required 3 or 4 fastener locations. Welding up holes and welding studs in their place was easy with the evaporator on hand. A call to VA will give you some guidance if in doubt. Their phone support is very helpful.

Also back to another post, there's no relationship between center vent configuration and side vent requirements. Either center vent option works with either below dash or in dash side vents. And you can use any of at least 3 side vent styles.
 
#9 ·
You can also get a mock up case and the mounting bracket for the Magnum evaporator to weld the studs to fit the bracket, for custom installations. https://www.vintageair.com/instructions_pdf/671450.pdf

The Magnum is the same evaporator as the sure-fit with side exit ports and 4 vent instead of center vent, so you can run the lines where you want them, instead of through the heater motor hole.
 
#10 · (Edited)
My plan is the sure-fit for the 55...Have a Magnum in my '38 sedan, and a sure-fit in my '65 C-10. I'll use in-dash side vents, but haven't decided what to do about the center vent...possibly a small panel underneath the glove box area to mount two swivel outlets and possibly a USB power outlet - something unobtrusive for sure. Thanks for the info on the firewall - I had a copy of the V/A instructions, just wasn't sure exactly which holes they were referring to. On another note - if you ever get a chance to visit them, do so. They have a first-class operation there. JR