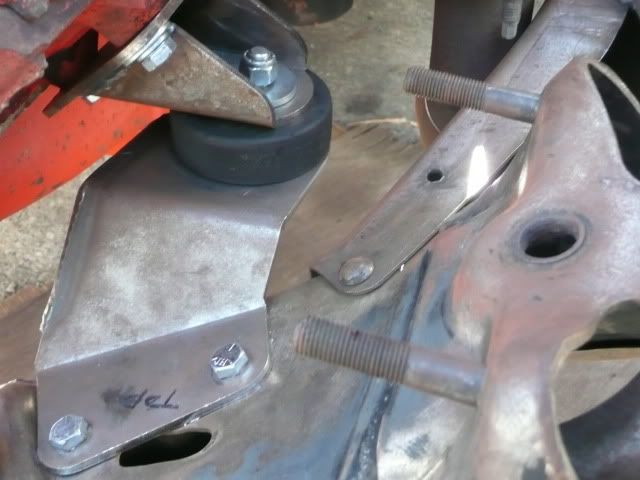
Pops you have the frame looking great and it has no rust pits on it as for as the engine mounts on the pass. side do you have room for the fuel pump it looks close to the mount, are you going to paint all under the hood compartment black the firewall, frame and a-arms and are you going to paint the engine like the factory color, you are doing A GREAT JOB WITH OUT PULLING THE ENGINE OUT, keep sending us updates and pictures, If I was closer to you I would be greatful to give you a hand with it because thats a lot of work to do by your self if you plan on taking it to the car show. :anim_25: Later Bill PS, sence you have the motor pull up front I would paint the firewall red before you set the engine back in place just a thought. Later Bill


")


